A Hiker’s Guide to Water
It’s probably happened before. You’re hiking and then you get thirsty. You suddenly realize that you don’t have any water with you or you’ve run out. Hiking without water can be a miserable experience, so in this hiker’s guide to water we are going to go over some ways to make sure you have enough, and if you run out, how to get more.
1. Bring It
This one should be the first priority of every hiker. If you can carry all the water that you need for your hike, then you don’t really have to worry about it. The amount of water you need will change from person to person, and also depending on the climate of the area you are hiking in. Generally one liter is good for every two to three hours that you’ll be hiking, but it’s generally best to err on the side of caution. Also, when doing longer trips it is impossible to bring all of your water with you.
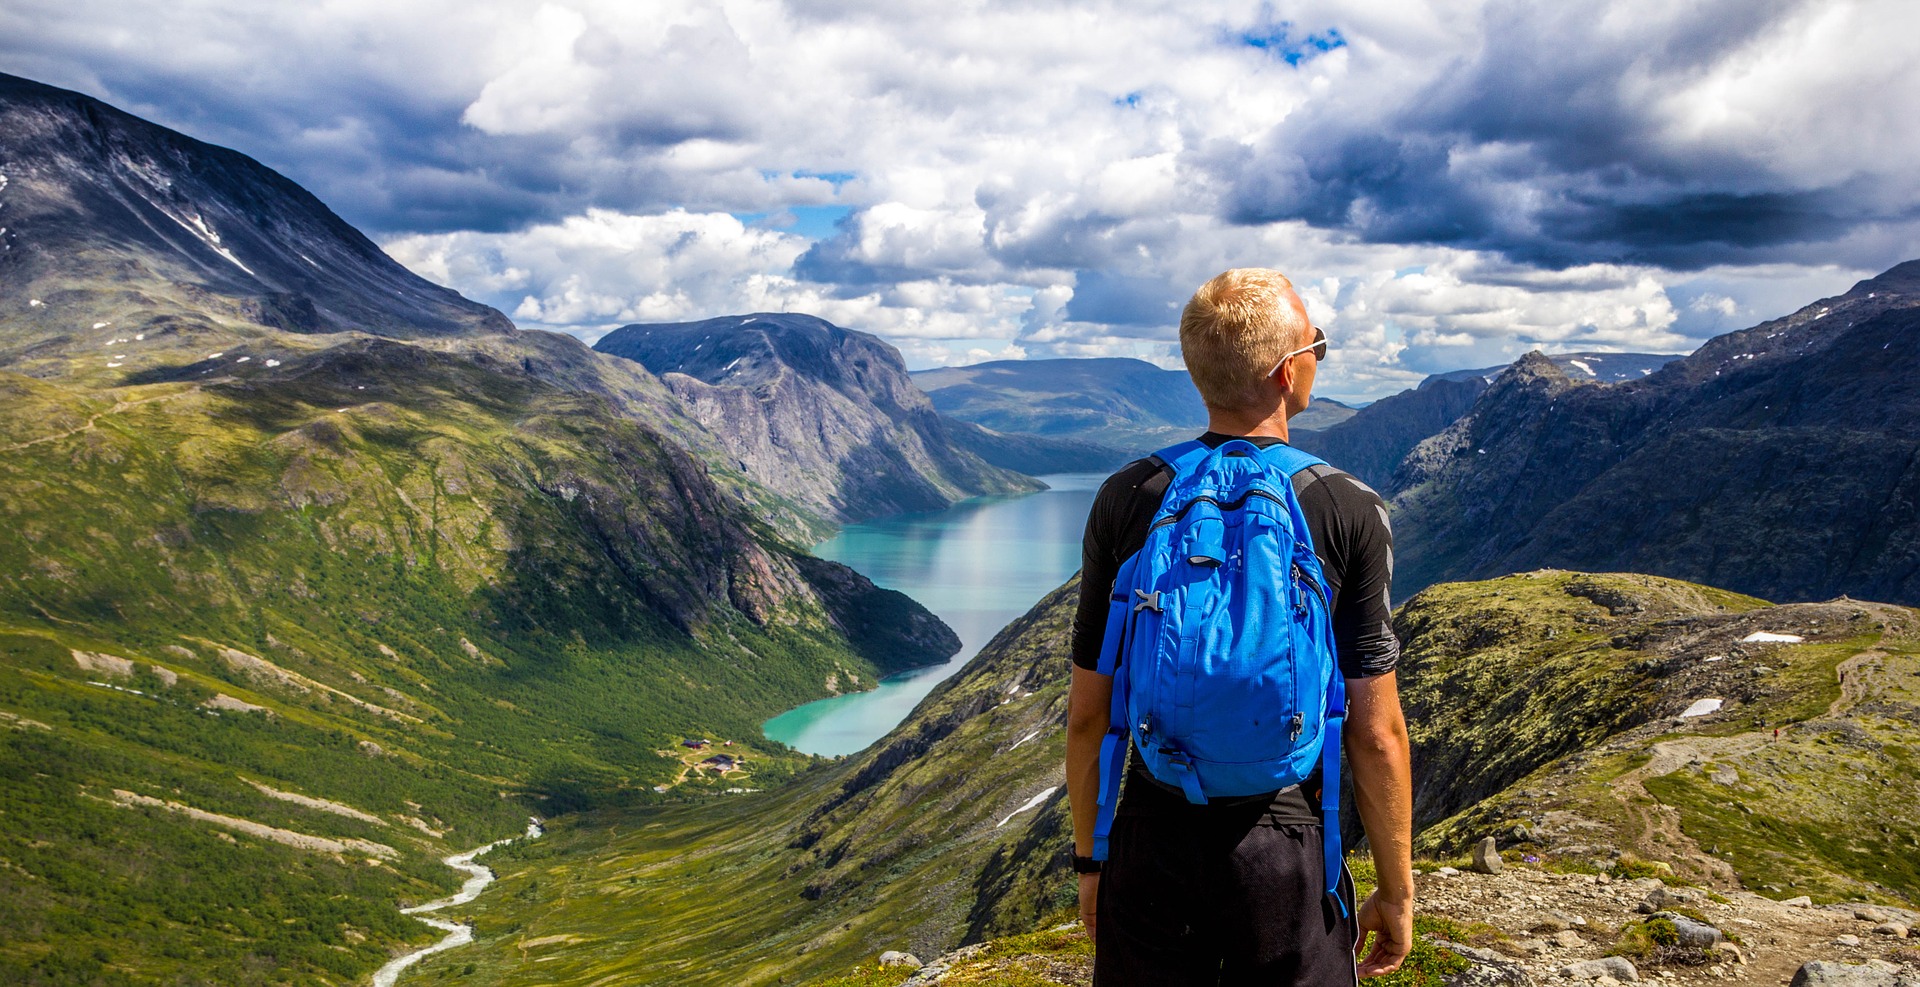
When you first start hiking, you’re probably bringing water bottles with you. If you start hiking more and more, you’ll find that drinking water out of bottles is very inefficient. You have to take it out of your pack, you have to unscrew the cap, then put it back in your pack, and then you’ve got to carry the bottles back down.
Pretty soon, you’re going to want a solution for that and you’ve probably seen other hikers on the trail, sipping on a hose coming out of their pack. Behold, the water reservoir! We use the CamelBak 3L on all our hikes. You can buy the reservoir to put into your current pack, or you can buy a pack with the reservoir built-in.
2. Filter it
If you are doing a hike or backpacking trip that is long enough to justify not bringing all your water with you then make sure to pack a filter. The big thing when dealing with water is ensuring that it is safe to consume. Even the cleanest of creeks may have bacteria in it which may make your trip incredibly unpleasant.
There are a variety of ways to filter water, ranging to pumps to UV pens to iodine tablets. Technically it is best to filter water using a traditional filter and then use a UV pen to kill any bacteria.
Iodine vs Filters
You might be wondering what the tradeoff for iodine vs regular filters is? Mostly it is weight. Iodine only weighs a couple of ounces, while the lightest of pump filters will be around a pound. However, this weight savings comes at a considerable cost. While pump filters will have your water ready almost instantly, most iodine tablets take 45 to 60 minutes to actually treat the water. Also, almost all of them will leave a somewhat chemical aftertaste in them.
Since the iodine is so light, you can always carry it in your pack as you never know when you or someone may need to treat some water.
3. Boil it
Boiling water to make it safe to drink is a very time-honored way of doing it. Most hikers and backpackers have pretty limited amounts of fuel for their camp stoves and some places don’t allow fires. There are some scenarios when boiling water makes sense, the most obvious is when you don’t have any other way to filter it. Another possible scenario is when camping in a place where all of the water is frozen, then melting and boiling snow can provide you with safe water to drink.
4. Eat it
Many foods, especially fruits and vegetables contain a large amount of water. While eating may not be what you want if you are really thirsty, the juices from any fruits and vegetables you might have in your pack might be enough to get you to the next place where you can re-supply.
Add comment