To Climb Mount Whitney, the highest point in the lower 48 states is a big goal for a lot of hikers. For those of us lucky enough to live in California, not only is it a big goal, but it can be a rewarding but short road trip. I (Luke), have been lucky enough to climb Mt. Whitney 5 or 6 times. Each time is a completely different experience, and is always more than worth it. Mt. Whitney is one of the most popular 14-ers in the country largely due to its status as the biggest. In order to prevent the mountain from being completely ruined, the Forest Service has implemented a strict permit system which is based on a lottery held in February. There are a few key dates that you need to keep in mind before anything else.
Key Dates
Here are the key dates:
- February 1st – Start of the lottery
- March 15 – Last day of the lottery
- March 24 – Lottery Results are announced by email
- April 1st – Unsold permits are available for purchase from Recreation.gov
- April 30 – Last opportunity to purchase a won lottery
Permit Lottery
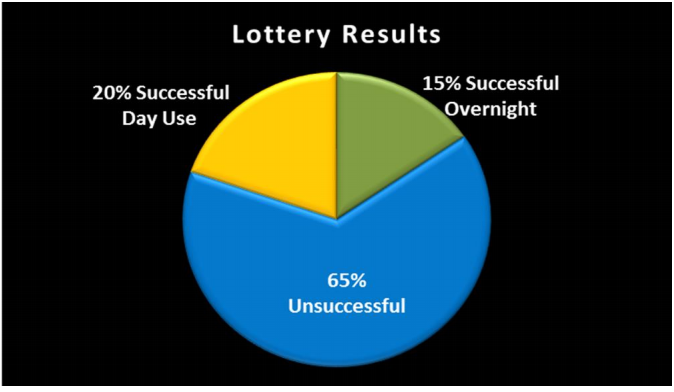
Starting February 1st, you can login to Recreation.gov and request a permit. You are able to select up to 15 alternate dates, and in order to increase your odds you should request all 15 of them. If you want to really increase your chance of winning the lottery, try for a midweek permit for a small number of people. The Forest Service has a nice overview of the results from the 2017 lottery. This chart pretty much sums it up:
All that being said, not winning the lottery isn’t the end of your chances to go to Mt. Whitney. You still have the opportunity to try and purchase a permit after the lottery closes, and as a final attempt there is a possibility of getting a permit on a walk-in basis. There is always the potential for one or more no-shows, in which case those permits will go on sale after 10:00 AM the day of. For people who are a bit more adventurous, there are also a few different options for backpacking from Yosemite and King Canyon National Parks (I’ve personally never done this, so I can’t speak for what the permit situation is like with that option). Note that if you do opt for backpacking in, you’ll need to budget significantly more time.
Preparing for the Hike
Mount Whitney is a big hike. It’s 22 miles round trip from the parking lot at Whitney Portal to the summit and back. You’ll be climbing from around 8,300 feet at the portal to 14,505 feet at the summit. You need to make sure you are regularly hiking 10+ miles with strenuous elevation gains. One great training recommendation if you are in Southern California is The SoCal Hikers 6 Pack of Peaks. The more hiking you can do leading up to your Mt Whitney attempt, the better prepared you’ll be.
I personally get a little bit of Elevation Sickness when I am above 9,500 – 10,000 feet. I’ve found I get a lot less of it if I can prepare by spending additional time at higher elevations. If you happen to have any 10,000+ foot peaks around you, focus on those in the weeks leading up to your Whitney attempt. Learning exactly how your body handles the higher elevations and how much you can safely push yourself is of paramount importance if you want to enjoy yourself on Mt Whitney. Yes, I have been up there with people who weren’t prepared and spent a good chunk of time emptying their stomachs instead of enjoying the scenery.
As with anything fitness-related, talk to a doctor if you have any concerns.
The Hike
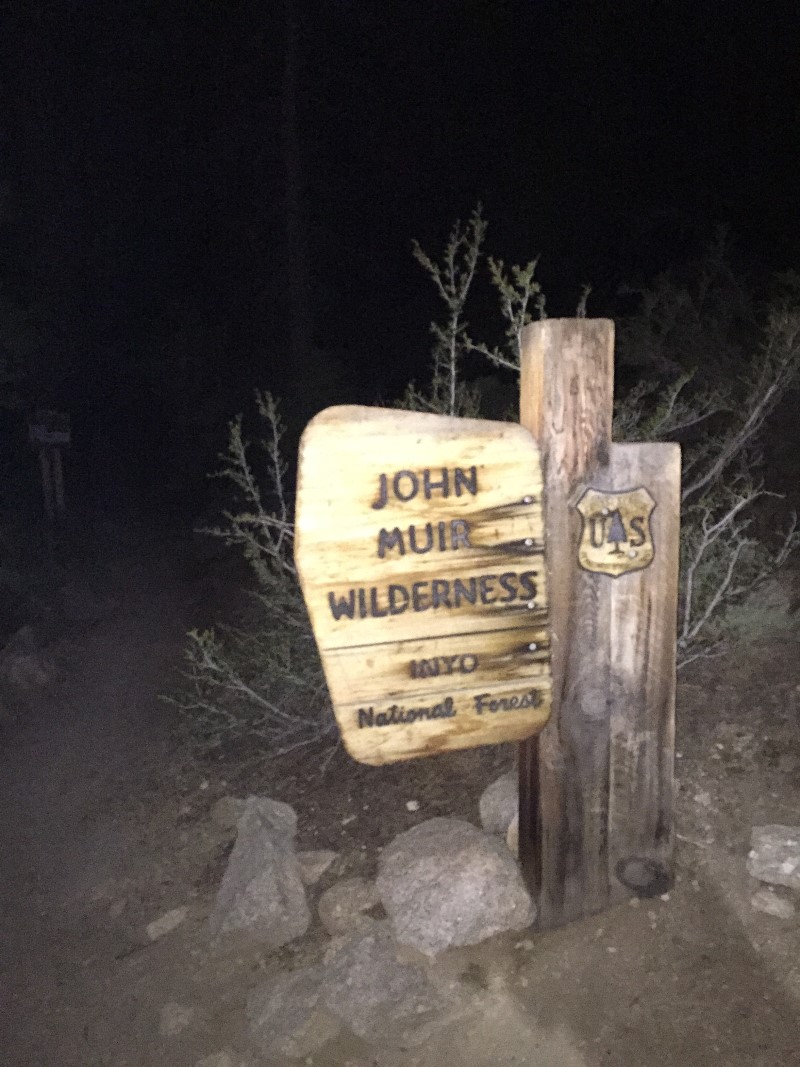
You’ll start from the parking lot at Whitney Portal. Depending on the time of day, the portal store may be open if you need any last minute provisions. You’ll proceed up the trail under the structure and bag scales. Pay attention to sign which says that the top is only half way, being airlifted out by a helicopter isn’t something anyone wants to do. The trail is basic single track and very well marked. You’ll have a couple of small water crossings before you find the sign for the John Muir forest:
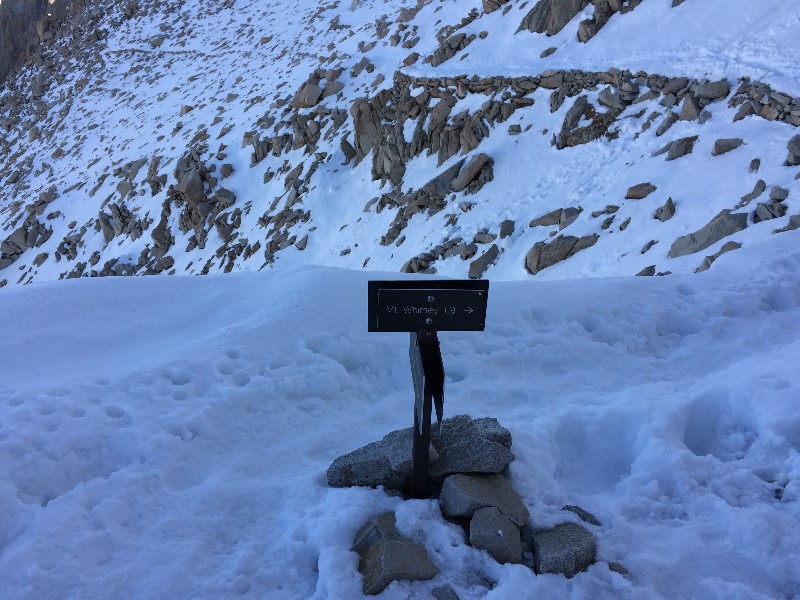
 You’ll continue up the switchbacks from here eventually passing by Lone Pine Lake, and shortly after you’ll see another sign:
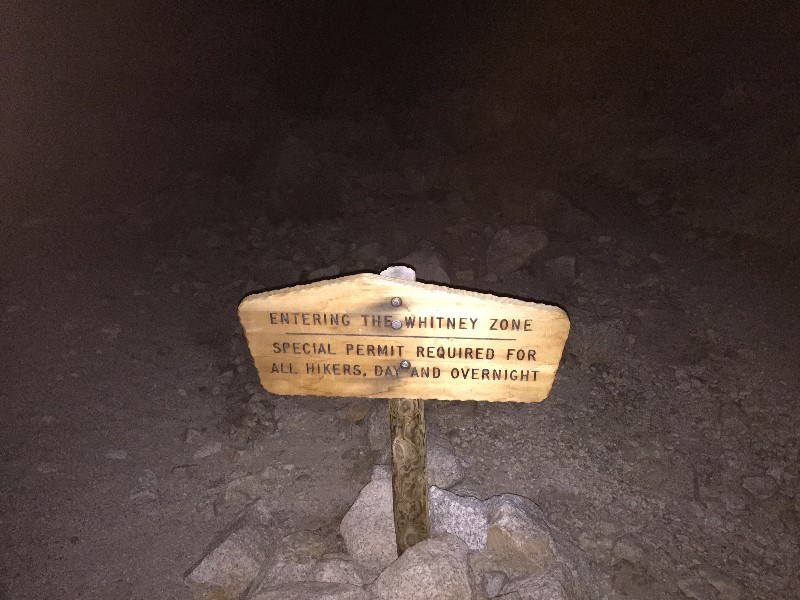 This is the point where you need to turn around if you don’t have a permit. Yes, the rangers do come up here. No, you don’t want to get caught without one. If you are doing an overnight trip, you’ll have selected one of two main campgrounds when you applied for/purchased your permit. The first is fairly short after this sign, called Outpost Camp. It’s my preferred campground as I prefer not sleeping on rock, but camping at trail camp puts you right at the base of the 99 switchbacks. The hike between the two campgrounds gives you quite a bit more elevation, and is beautiful if you enjoy alpine creeks, waterfalls, mountain views and the like. It’s also nice in a way since you are pretty close to water the entire way, so if you need to refill your water bottle it’s doable. When you get to trail camp you’ll see “Trail Camp Pond” which is one of the last easy sources of water until you are back down from the summit (note that seasonally there may be a few spots of water on the switchbacks, but I personally prefer to ensure I have at least 2-3 liters of water before starting up the switchbacks).
The 99 switchbacks are mostly just your standard switchbacks with moderate elevation gain. The one really notable part is the cables, where you’ll being walking along a precipice with just the cables to prevent you from falling. Note that if you are going early or late in the season, there is a chance that the snow may not have melted from the switchbacks yet. In that case you’ll need to climb the “Chute.” The Chute is snow and ice that leads straight up at a very respectable angle. I’ve only done it once, and wouldn’t recommend it unless you have crampons and an ice axe and the knowledge of how to use them.
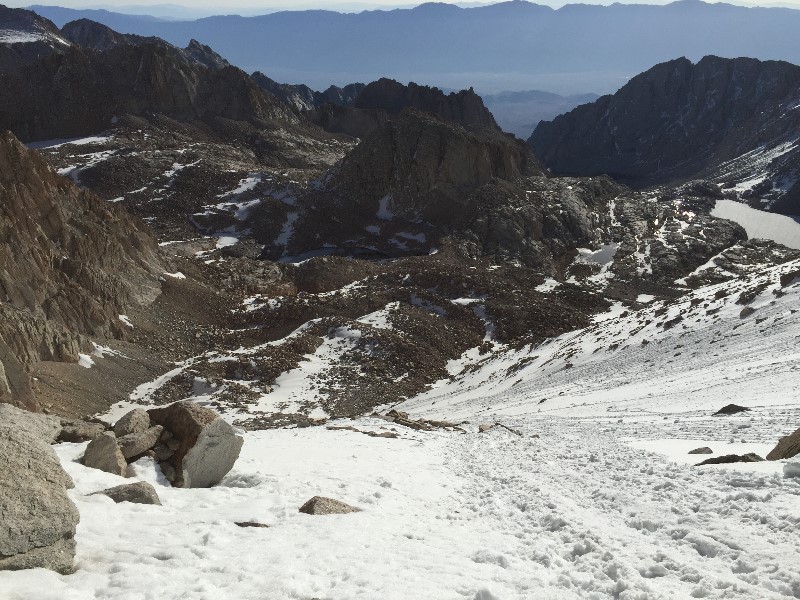
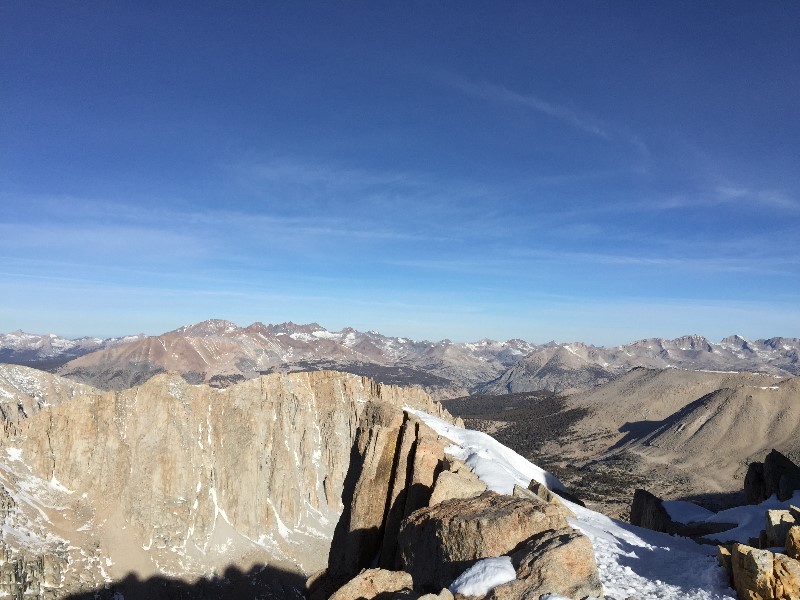
The view from near the top of the chute
Once you are at the top of either the switchbacks or the chute you’ll be at Trail Crest. Trail Crest is probably my favorite view of any hike I’ve ever done
From Trail Crest you are almost done. Less than 2 miles to the summit (although it feels like a lot longer):
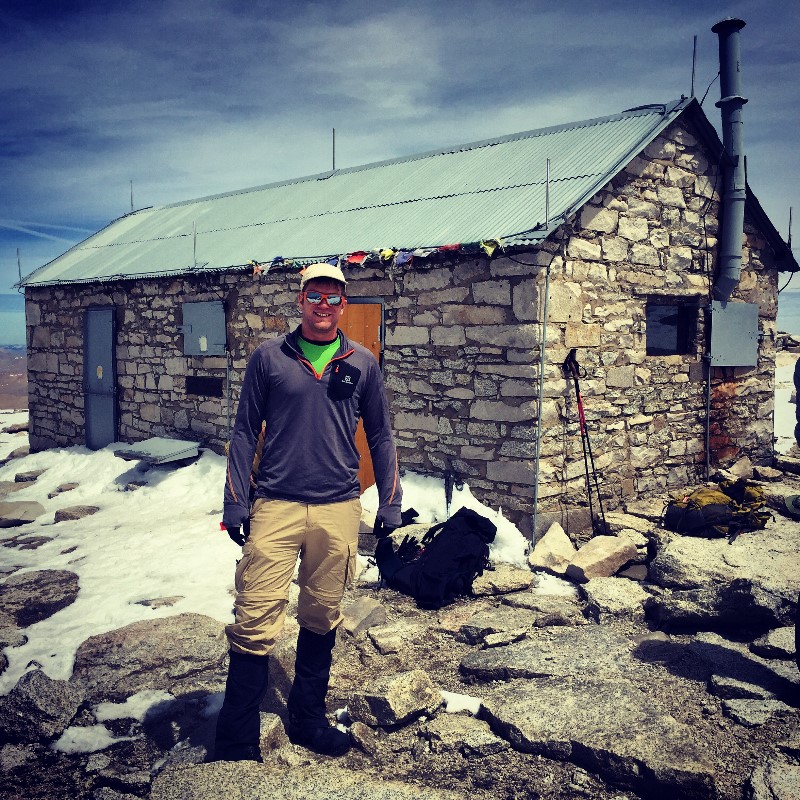
Just continue trudging along, and sooner than you realize the summit hut will come into view, and that’s the summit.
From there it’s just back the way you came.
Can I do this?
This is a common question. Mount Whitney requires a decent training regime, but the main Mount Whitney Trail is a class 1 hike all of the way through. I won’t say that everyone can do this hike, even I’ve turned around on it before. If you get a permit, and you feel like you’re ready to do it, then go for a hike, but always listen to your body, listen to the weather, and chat with other hikers. The mountain isn’t going to go anywhere, so you can always make another attempt if things aren’t going your way. Mount Whitney can attract weather, and there is no shelter at all anywhere near the summit. If you see something bad rolling in, roll out. I don’t want to scare anyone off from attempting this hike, but I’d hate for someone to get hurt or worse because they tried something that they shouldn’t have.
Add comment